Hey there, future or current parent!
If you’re reading this, you’ve probably realized that having a baby means you are about to become a diaper changing machine. Seriously, in the early weeks, you can be hitting 10 to 12 changes a day! That sounds like a lot, right? Well, it is!
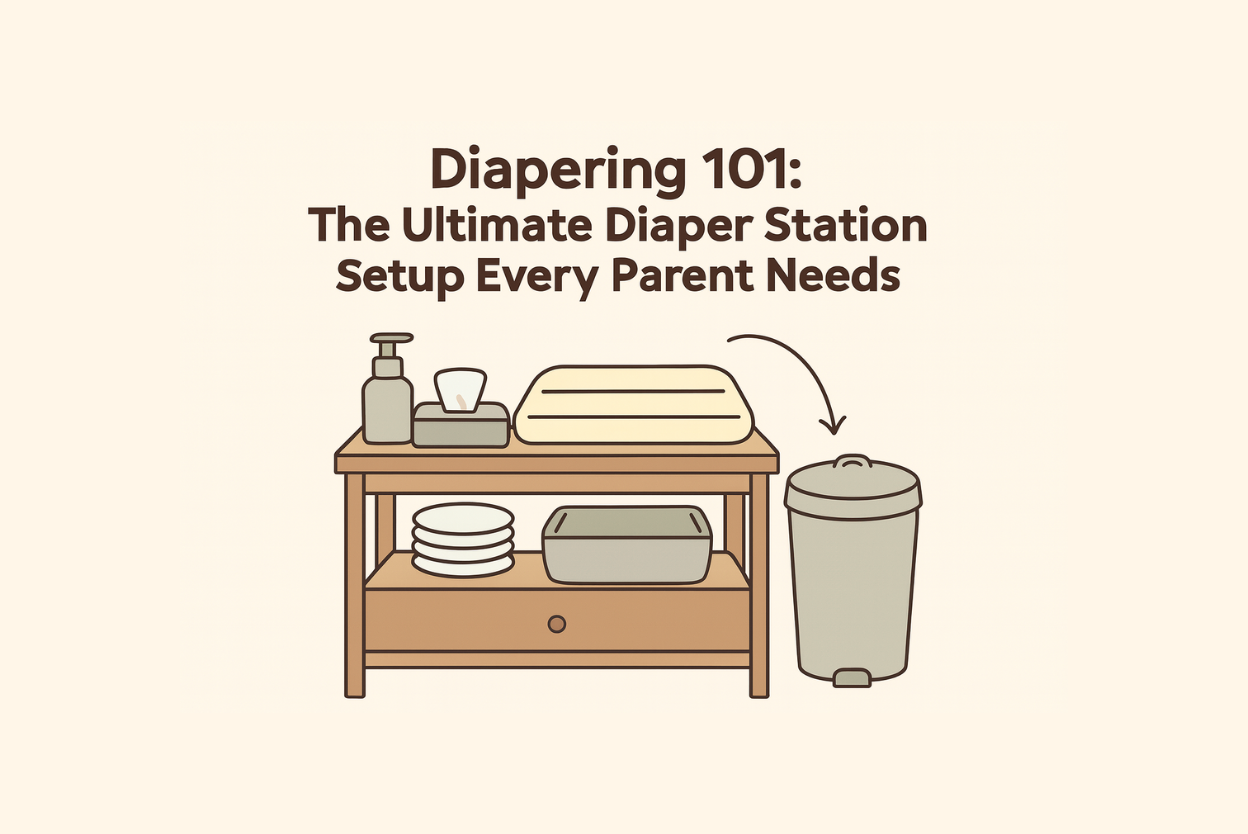
But here’s the good news: you can make this high frequency task totally painless (well, almost!). The secret? Building a dedicated, fully stocked, and super-efficient diaper station. It’s all about making sure that when you’ve got a crying, wiggling baby and a messy situation, everything you need is right there.
Think of this as your Diaper Change Command Center blueprint!
1. 🪑 The Changing Spot: Safety is the Absolute Boss
This is the most important part of the entire operation. You need a safe, secure, and dedicated place to set your little one down.
- The Go-To Setup: Most parents use a changing pad on top of a dresser or a dedicated changing table. I personally loved the dresser topper because it gets more mileage; once they are out of diapers, you just remove the pad, and you’re left with a great piece of furniture.
- Pro Tip: Make sure your changing pad has those nice, contoured edges—they are like little soft bumpers that help keep baby from rolling. And please, always use the safety strap!
- The Second Station Savior: Trust me, you’re not going to want to trek to the nursery every single time. Keep a portable changing caddy and a roll-up pad in your main living space. It’s a total back saver!
2. 🧺 Must-Have Gear: The Holy Trinity of Clean-Up
Efficiency comes from having your core supplies within arm’s reach (and I mean safe arm’s reach—never take your eyes or a hand off the baby!).
| What You Need | Why It’s Essential |
| The Diapers (duh!) | Keep them sized correctly and stacked high! No one wants to realize they are out mid-change. |
| The Wipes | A good quality wipe makes all the difference. Some parents swear by a wipe warmer (a little luxury for a baby’s tush on a cold morning!). |
| The Cream | Whether it’s Aquaphor, Desitin, or your favorite natural balm, have it ready. A little barrier cream goes a long way in preventing angry red rashes. |
| The Pail | You need a dedicated, air-tight diaper pail. This is non-negotiable unless you enjoy the smell of old diapers wafting through your house. Find one with a good sealing mechanism! |
3. 👕 The “Blowout Backup Plan” Drawer
We’ve all been there. You lift the diaper, and… well, it’s everywhere. This is when your organization shines!
- Immediate Clean-Up: Keep a clean towel or receiving blanket right next to the pad. If the baby is still mid-pee or mid-poop, you can quickly toss this over them to protect yourself and the changing pad cover.
- A Full Change of Clothes: Always, always have one or two clean onesies/PJs right in the top drawer or cubby. Trying to find a clean outfit in a different room while holding a slightly soiled baby is a special kind of parenting chaos. Don’t do it!
- Extra Covers: You need extra changing pad covers. Trust me. One will be in the wash, one will be on the pad, and you’ll need one more waiting in the wings.
4. 🧸 The Distraction Factor (Your Secret Weapon)
A squirmy baby on a changing pad is basically a tiny escape artist. Distraction is key!
- Keep a special toy (that is only used during changes) right next to the station. It keeps their attention up and focused, giving you the two minutes you need to get the job done quickly and safely.
- Singing works too! The more ridiculous your voice is, the better.
A well-planned diaper station doesn’t just look pretty; it gives you confidence, especially when you’re half-asleep at 3 AM. Get it set up now, and give yourself a big pat on the back—you’ve officially mastered Diaper Station Prep 101!
A Few Real Parent Tips No One Tells You
- Always open and prep the new diaper before touching the old one.
- Roll the dirty diaper to lock in the mess.
- Distract a wiggly baby with a toy, teether, or wipe pack.
- Don’t stockpile newborn sizes — they grow fast!
- Keep a portable diaper kit for other rooms or the car.
Because That Cute Butt Deserves Extra Love
- For the first few days, use warm water and cotton instead of wipes—gentler on newborn skin.
- If you’re using cloth diapers, apply rash cream before every use (even with no rash).
- Never put a diaper on when the area is wet; make sure it’s fully dry after wiping or bathing.
- Avoid baby powders; they can irritate newborn lungs and don’t help with moisture control.
Quick Diaper Station Checklist
Must-Haves:
✔ Diapers
✔ Wipes
✔ Changing mat
✔ Rash cream
✔ Extra baby clothes
✔ Burp cloth / towel
✔ Hand sanitizer
✔ Trash bin / disposable bagsNice-to-Have:
✔ Distraction toy
✔ Portable diaper kit
✔ Dim night light
✔ Small organizers or baskets